How to Bypass a Cloudflare 403 Forbidden Error
Errors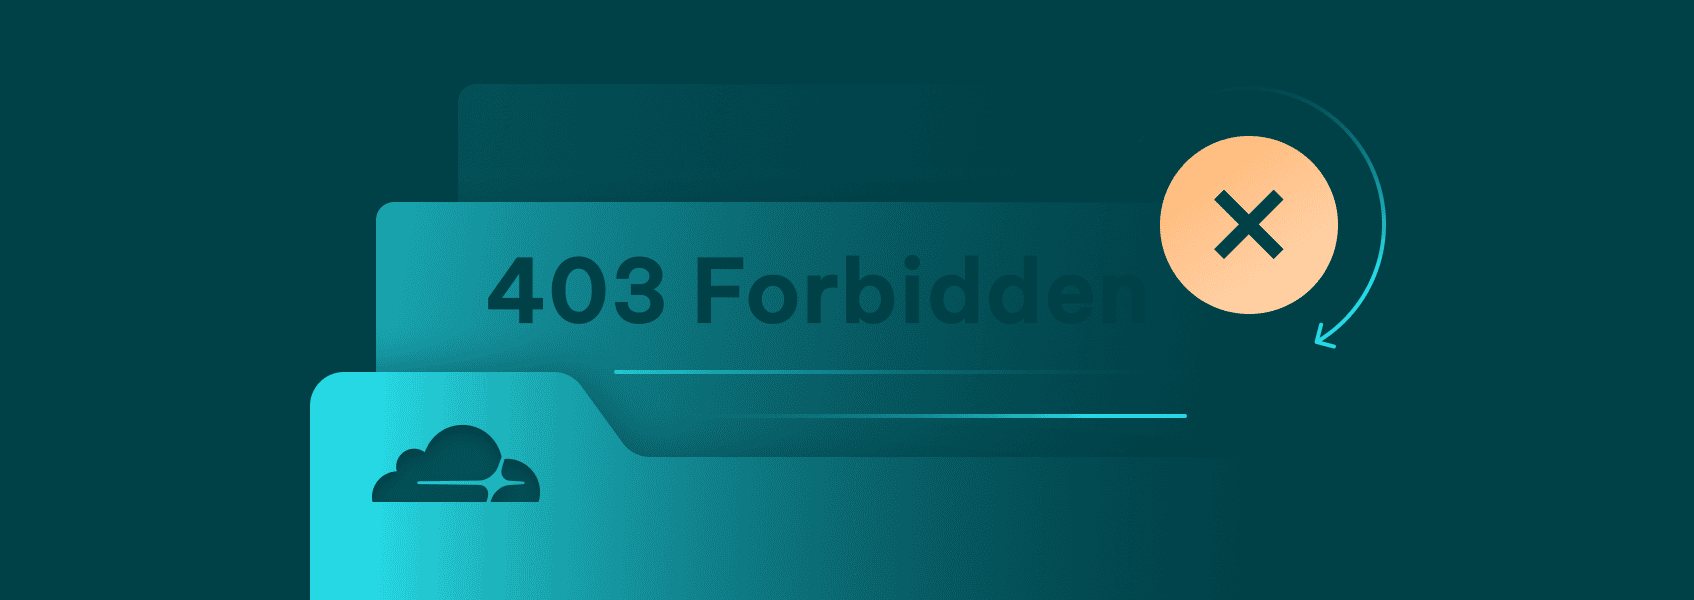

Milena Popova
Cloudflare’s 403 error is no different from a regular HTTP 403 error code – forbidden. That usually means you are not authorized to access the document. With Cloudflare, however, that may also happen when you’re web scraping, as it may indicate that your IP address has been banned.
There are several ways to implement a Cloudflare 403 Forbidden bypass , ranging from changing your IP addresses to using dedicated software to minimize the occurrence of these errors.
Need a visual guide? Watch this video:
Understanding Cloudflare 403 Forbidden Error
While the HTTP error code 403 usually means you don’t have the required permissions to access the document, Cloudflare may produce the error due to various reasons. Some of them may be completely innocuous, such as when firewall rules are misconfigured.
Those are niche cases, however. You’ll usually get the error in one of three cases:
1. IP blacklist
Your IP address or proxy may be in Cloudflare’s blacklist, forbidding access to any documents. That may happen even if your request is legitimate.
2. Anti-botting systems
If your request is malformed, comes with a suspicious user agent, or any other case of botting is suspected, Cloudflare will prevent you from accessing the website.
3. Country blocking
If the content is unavailable in your country, you may get a 403 error as well.
Implementing a Cloudflare 403 Forbidden bypass in all of these cases rests on a similar foundation. You’ll usually need to change your request in one way or another, either by tinkering with the user agent or the IP addresses.
In some cases, you may be triggering TLS fingerprinting. Whenever you send a network request, many layers of information are exchanged, one of which includes the Transport Security Layer.
It includes some information about the library used in the TLS handshake, accepted ciphers, and the TLS version. When web scraping, if your TLS data is unusual, you may get the aforementioned error. Changing IP addresses won’t help, as TLS fingerprinting is independent of your IP or location data.
Bypass Cloudflare’s 403 Forbidden Error
If you encounter this error while web scraping or performing any other action, you can bypass Cloudflare with a few methods. Let’s start with the simplest methods – changing IPs.
Use proxies, VPNs, or Other IP Sources
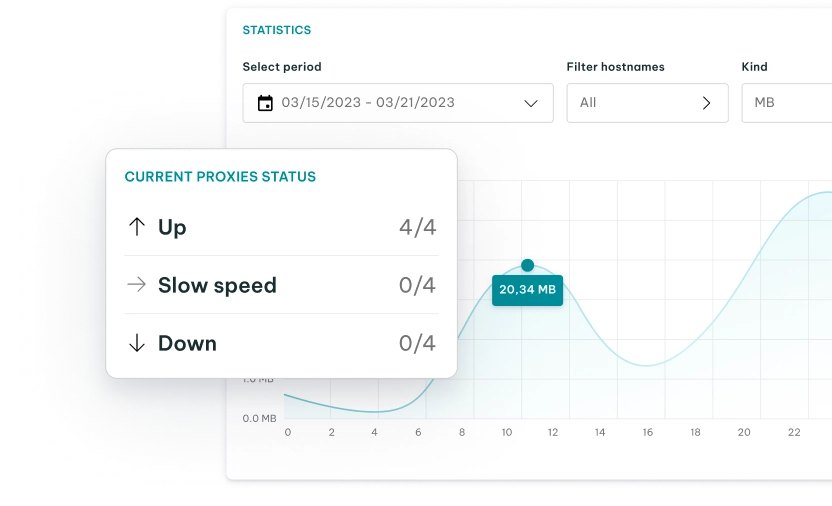
If Cloudflare has banned your IP address, the simplest option is to switch it. Usually, web scraping is performed through the usage of large residential proxy pools, which come with millions of IPs.
Global Pool, Precise Targeting, Zero Contracts
Premium Residential Proxies
Implementing a switch is rather simple – add a conditional statement that checks for the error in the response body. If it exists, initiate an IP address switch and retry the connection request.
For residential proxies, like those offered by IPRoyal, you don’t even need to implement such a process manually. You can change IP addresses on each request, which essentially minimizes the possibility that the Cloudflare error is being thrown due to you being banned.
Avoiding TLS Fingerprints
As mentioned previously, TLS fingerprinting will make switching between IPs rather useless as it tracks your software’s transport layer instead. In these cases, you can’t use any of the HTTP libraries as they don’t have support for TLS handshakes like browsers do.
curl-impersonate
If you want to continue using a command-line tool or HTTP library, your best bet is to use something akin to “ curl-impersonate ”. These are patched versions of cURL that impersonate popular browsers like Chrome, Firefox, etc.
Unfortunately, curl-impersonate is only available for Linux and macOS, and only provides partial support for Windows in a different project. If you go this route, install the application from the releases folder and open up the Terminal window. If you want to impersonate one of the specific versions of Chrome, use:
curl_chrome104 -v -L https://wikipedia.org
All options for specific browser versions are available in the project’s Github .
Headless Browsers
You can bypass Cloudflare’s TLS fingerprints through headless browsers as well. It’s also one of the more effective options as it strikes a good balance between the speed of HTTP libraries and the slowness of regular browsers.
Headless browsers are available in tons of libraries. Popular options include Playwright (headless enabled by default), Puppeteer, Selenium, and numerous others.
Do note that not all browser automation libraries are as equally stealthy. For example, for Cloudflare bypasses an additional library called “ puppeteer-extra-plugin-stealth ” is commonly used.
Luckily, these additional libraries usually have little to no additional complexity. For example, instead of using _const puppeteer = require(‘puppeteer’) _to start out your browser, you’ll be using:
// puppeteer-extra is a drop-in replacement for puppeteer,
// it augments the installed puppeteer with plugin functionality
const puppeteer = require('puppeteer-extra')

// add stealth plugin and use defaults (all evasion techniques)
const StealthPlugin = require('puppeteer-extra-plugin-stealth')
puppeteer.use(StealthPlugin())
Most of the other functionality remains identical. All you need to do is a few additional lines of code.
Using Cloudflare-specific Libraries
Finally, there’s the option of using various plugins and libraries that are dedicated to solving Cloudflare challenges and errors (like Error 1015 and Error 1020). They may sometimes be effective at solving the 403 error as well.
One of the most popular and well-known solvers is “ Flaresolverr ”. The setup is a bit more complicated as Flaresolverr runs as a proxy server that waits for user requests. Once they are sent to the endpoint, Flaresolverr runs a Selenium instance and performs the requested actions.
For example, assuming a Flaresolverr instance is running, you can use it to visit the IPRoyal website through a Python script:
import requests
import json

# Flaresolverr endpoint
url = 'http://localhost:8191/v1'

# Request payload
data = {
    "cmd": "request.get",
    "url": "https://iproyal.com",
    "maxTimeout": 60000  # 60 seconds
}

# Headers
headers = {
    'Content-Type': 'application/json'
}

# Send POST request to Flaresolverr
response = requests.post(url, data=json.dumps(data), headers=headers)

# Print the response content
print(response.text)
It has to be running at all times if you want to use it. However, FlareSolverr works as a great bypass if you have it set up correctly.