SocksDroid is a free app for Android devices capable of making SOCKS5 proxies work with Android’s VPNSService. In other words, you can use it to set up your SOCKS5 proxies for all traffic (web browsing, apps, games, and more). Surprisingly, the SocksDroid app is no longer available on the Google Play Store, but we managed to get it here.
For visual learners, watch this video:
Setting Up Proxies with SocksDroid
Let’s say you installed SocksDroid, you got your IPRoyal proxies, and you’re ready to start enjoying anonymous internet access. Here’s how to set everything up!
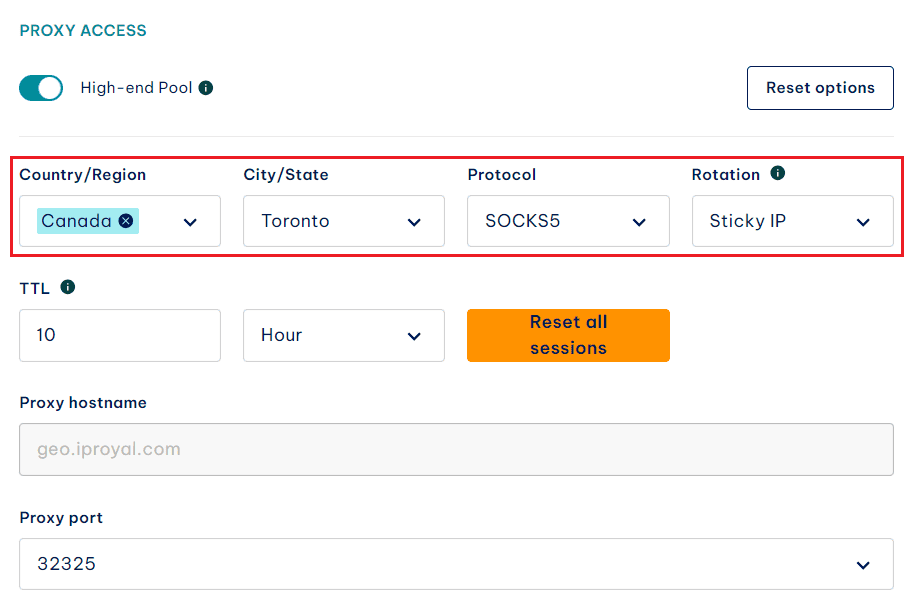
1. First off, set up your SocksDroid proxy on IPRoyal. As an example, we’ll use residential proxies. Select the location and other characteristics (where available), and make sure you set SOCKS5 as the proxy type.
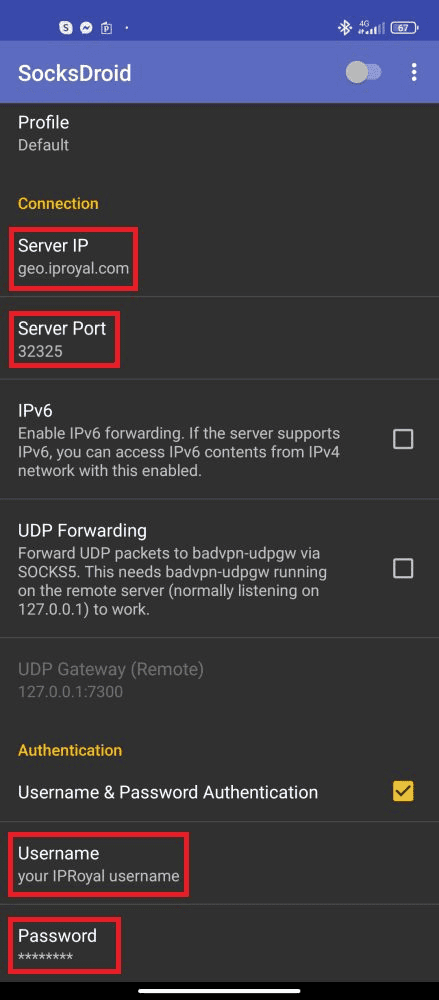
2. Once you do this, copy the following information over to SocksDroid:
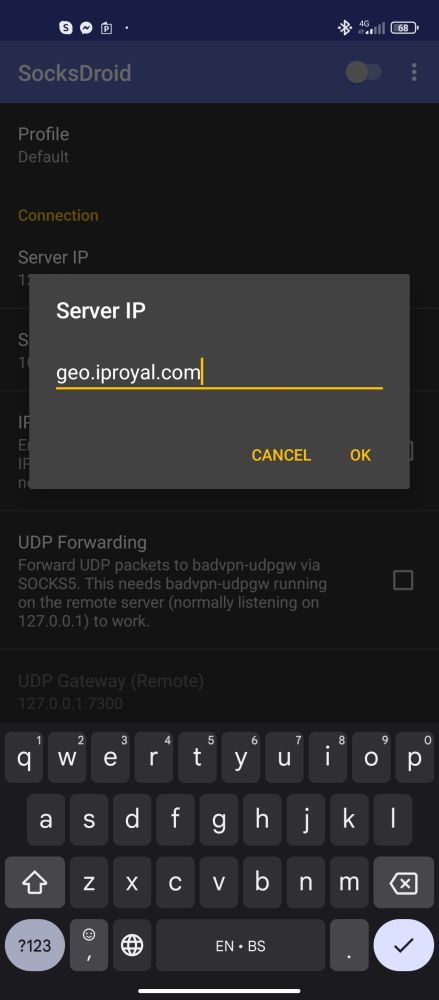
- Server IP (“Proxy hostname” on IPRoyal)
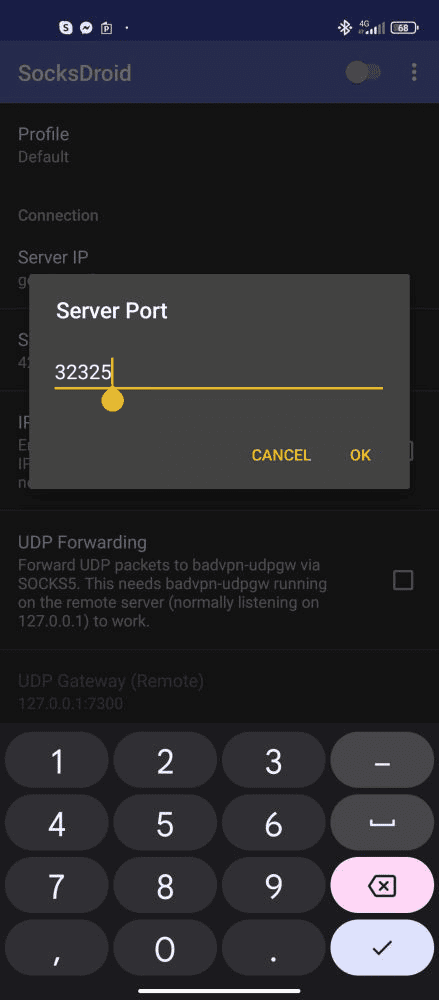
- Server port
- Your IPRoyal username
- Your IPRoyal password
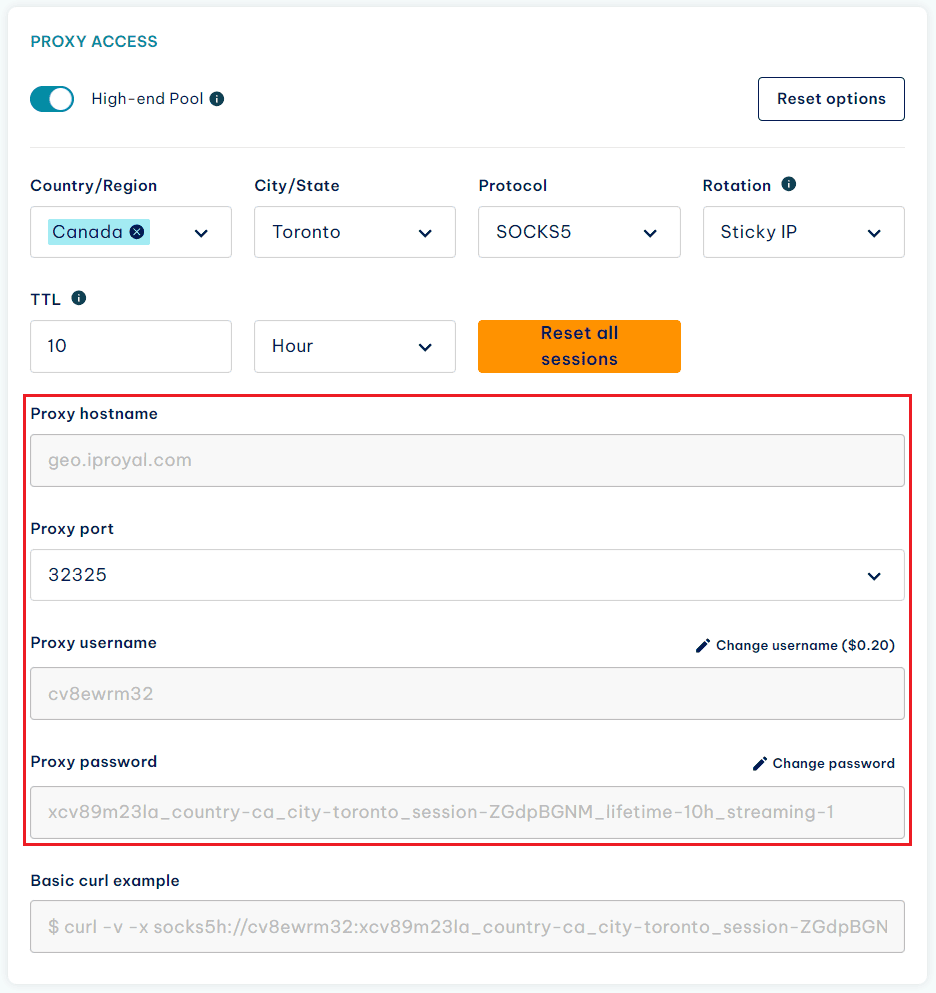
3. In this case, our Server IP is geo.iproyal.com.
4. Our server port is 32325.
5. Now, tick the box next to the Username & Password Authentication option in SocksDroid.
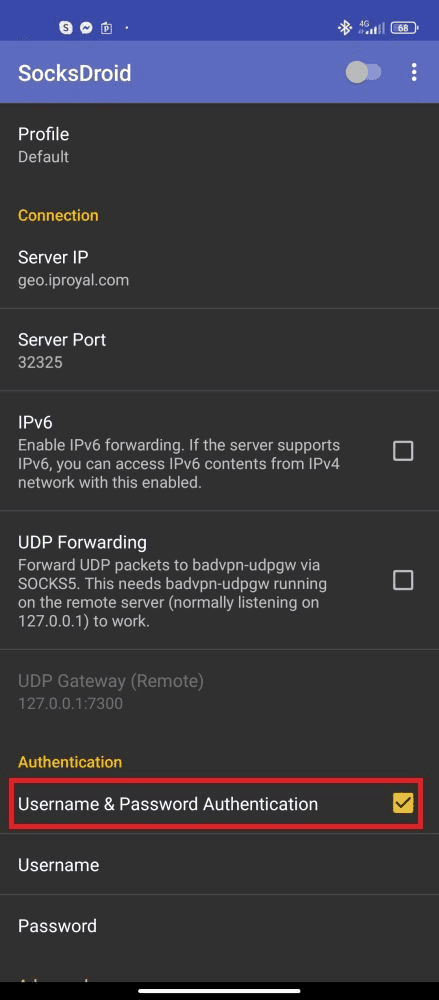
6. Enter your IPRoyal username in the Username field.

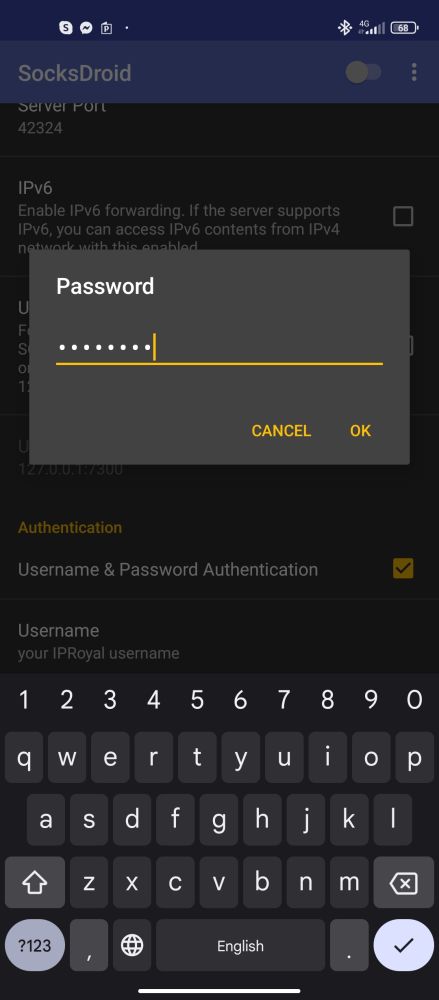
7. Enter your IPRoyal password in the Password field.
8. Once you’re done, your SocksDroid should look like this.
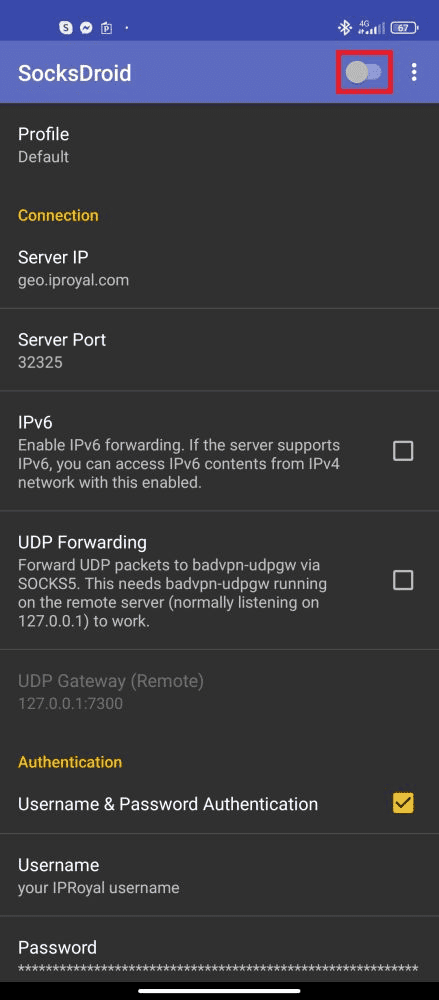
9. There’s no need to alter any other options unless you want to use proxies for specific apps only, etc.
10. Lastly, toggle the switch in the top right corner to start using proxies on your Android device.
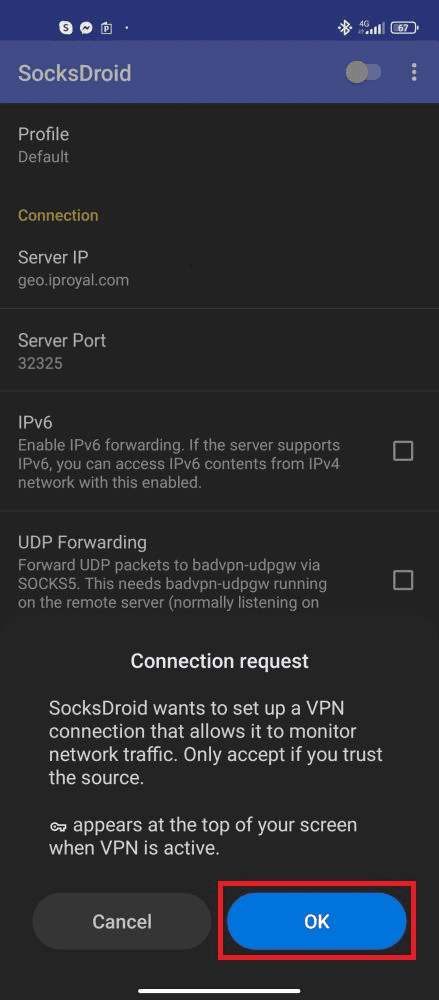
11. You’ll get a prompt. Since you know and trust the source (IPRoyal), tap on OK.
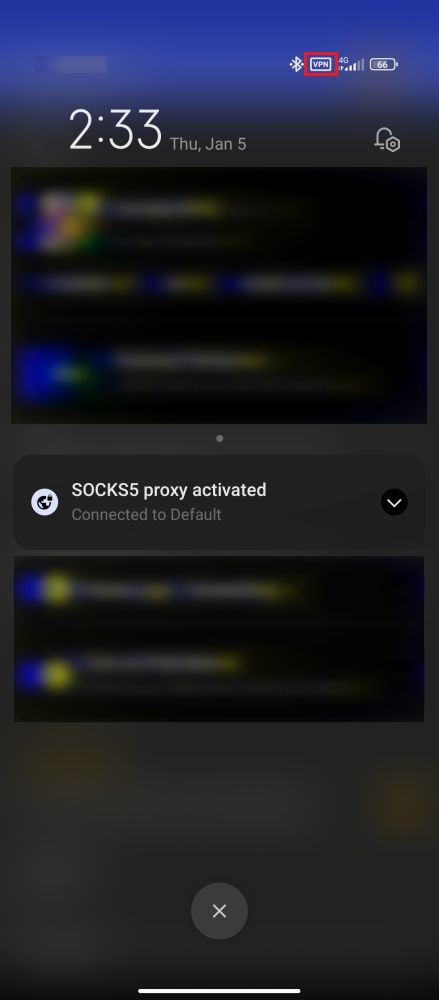
12. If you set everything up correctly, you’ll notice a little VPN icon next to your connection and “SOCKS5 proxy activated” (along with the active profile) in the notification bar.
13. Finally, go to IPRoyal’s IP Address Lookup or a similar website to check your current IP address.
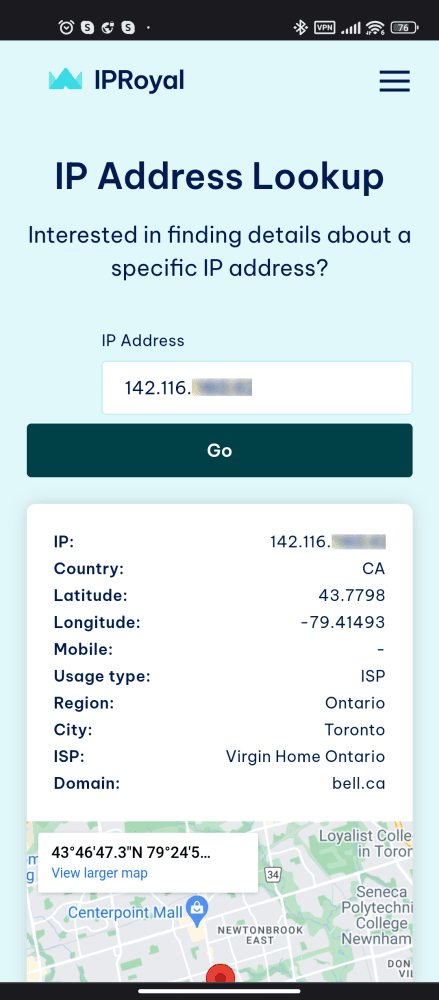
14. As you can see, the site “thinks” we’re connecting from Ontario, Canada. Also, the IP is recognized as an ISP-issued address since we’re using authentic residential proxies.
Final Thoughts
SocksDroid proxies provide full control over your device’s internet access. That means your browsers, apps, and all other traffic will go through the proxy you set up. Enjoy anonymous surfing with SocksDroid and IPRoyal!